Outlook (Office 365)
Connect your Outlook (Office 365) account with Jira Release Notes for seamless release note delivery.
Overview
This article demonstrates the process of registering the Azure application and utilizing it for sending emails. This method employs the OAuth 2.0 authorization, known for its security.
Register Azure application
1. Sign in to the Azure portal
2. If you have access to multiple tenants, use the Directories + subscriptions filter in the top menu to switch to the tenant in which you want to register the application.
3. Search for and select Azure Active Directory.
4. Under Manage, select App registrations > New registration.
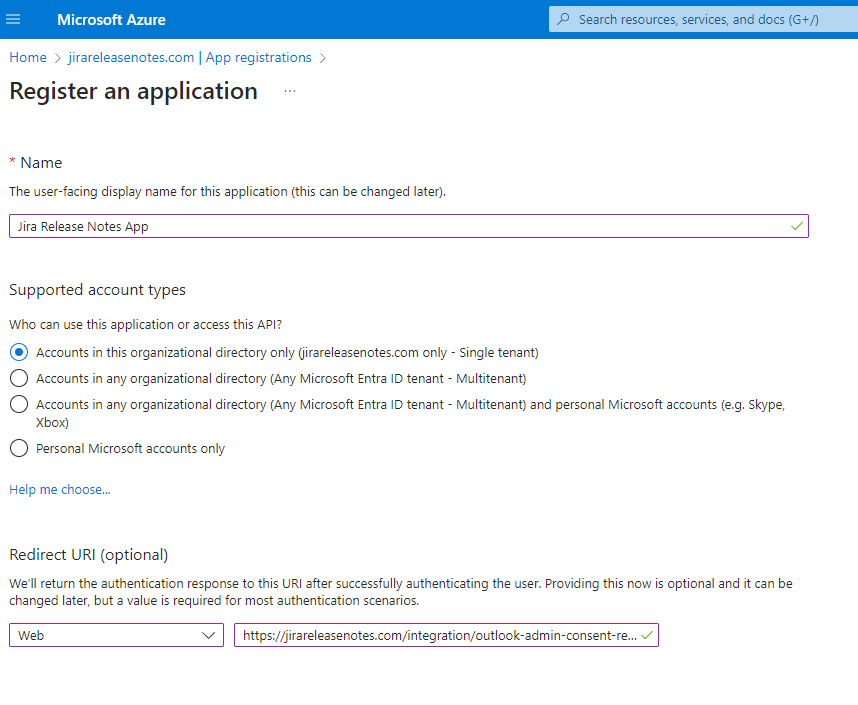
Supported account types
Select "Accounts in this organizational directory only"
which means you're building an application for use only by users (or guests) in your tenant.
Often called a line-of-business (LOB) application, this app is a single-tenant application in the Microsoft identity platform.
Redirect URI
Selected "Web" from platform list.
Put https://jirareleasenotes.com/integration/outlook-admin-consent-redirect to the URI
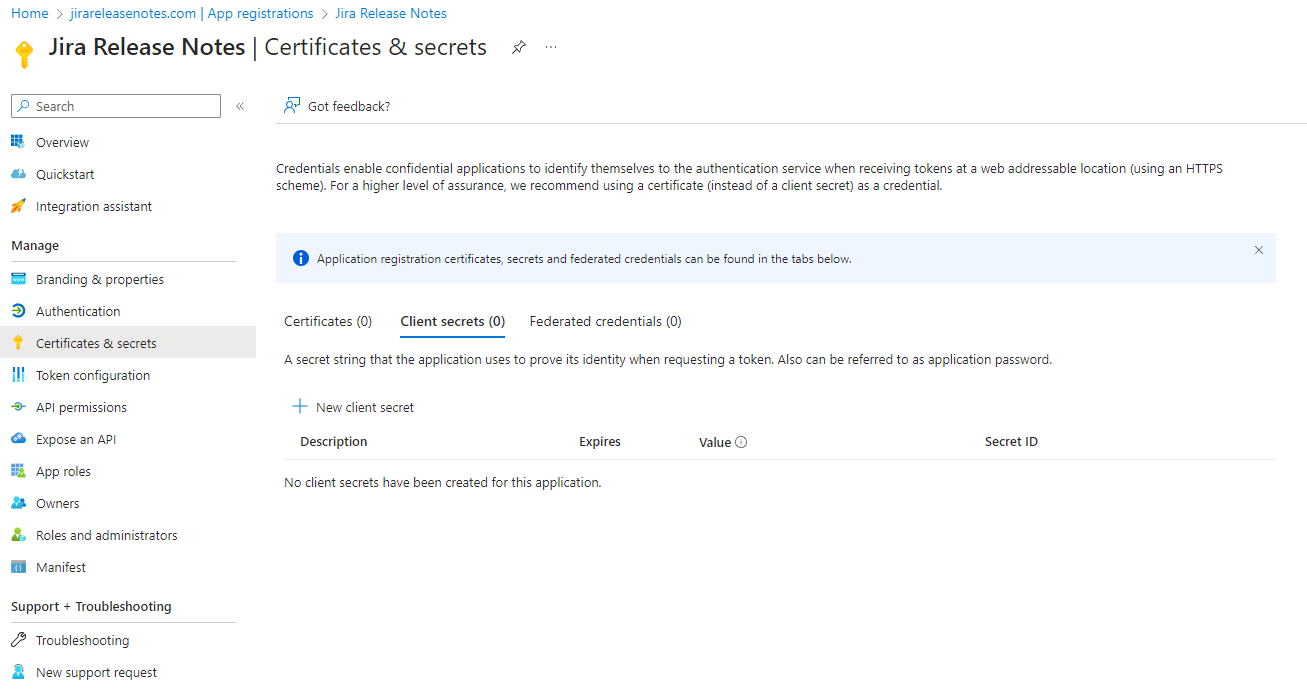
Certificates & secrets
Select Certificates & secrets > Client secrets > + New client secret.
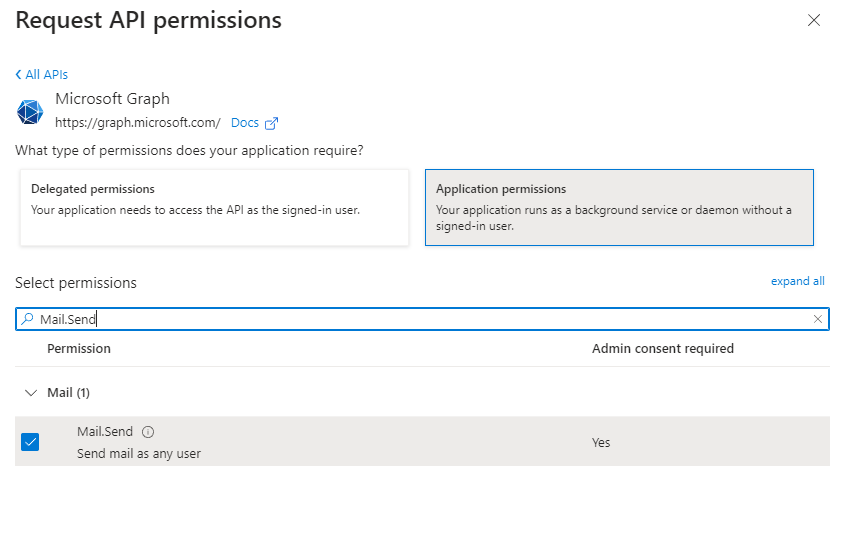
API permissions
To configure application permissions for the app, follow these steps:
- Under the application's API permissions page, choose Add a permission.
- Select Microsoft Graph.
- Select Application permissions.
- In the Select Permissions dialog, choose the Mail.Send permission to configure to the app.
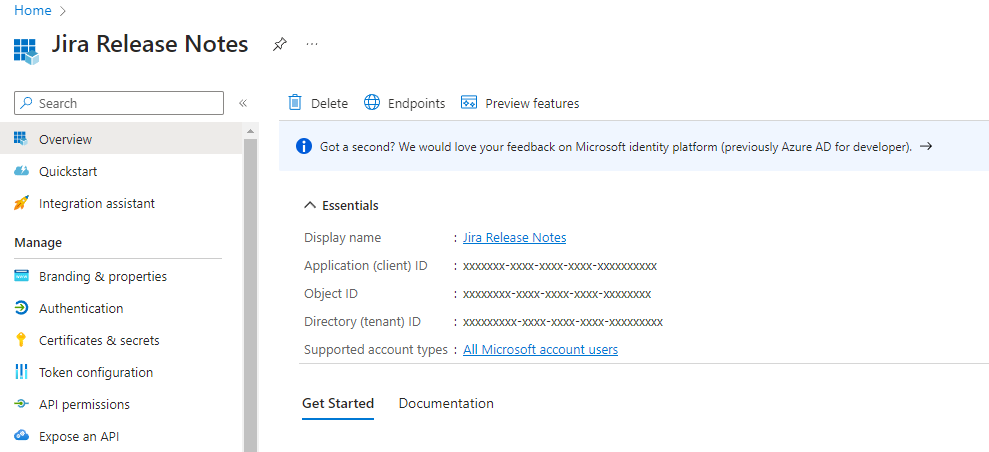
Add credentials to the plugin
Navigate to the application's Overview to obtain all the necessary credentials and then add them to the Jira Release Notes plugin in order to establish a connection with Office 365 (Outlook).
Request Administrator Consent
1. After saving your Outlook OAuth 2.0 credentials, you will notice the Request Administrator Consent button. Click this button to grant administrator consent for the registered Azure application to send emails.

2. After granting consent, you will notice the Send test email button. Be sure to use it to verify that the connection has been properly established.
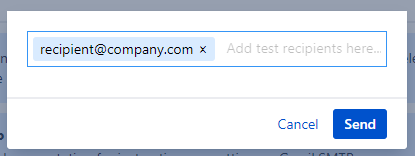
3. Add recipients and click Send button. You should receive test email.
4. Now you can select added Outlook account in the From field within the Setup
